I figured this was the perfect day to post pictures from the fall and Halloween activities we had over the weekend. First off, a 19.5 acre corn maze!
 |
| Welcome sign at the Corn Maze, this year they were honoring Minnesota military families. Anything that honors military personnel has a special place in our hearts! |
 |
| CORN! |
 |
| Our friends Mike and Becky came too! |
Now for the good stuff...COSTUMES! (Forgot my camera so used my phone=crappy quality on the pics but you get the idea:)


 |
| The Ladies |
 |
| The Men |
 |
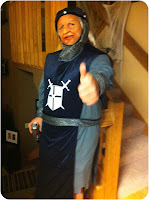
| "BUD" Lightyear |
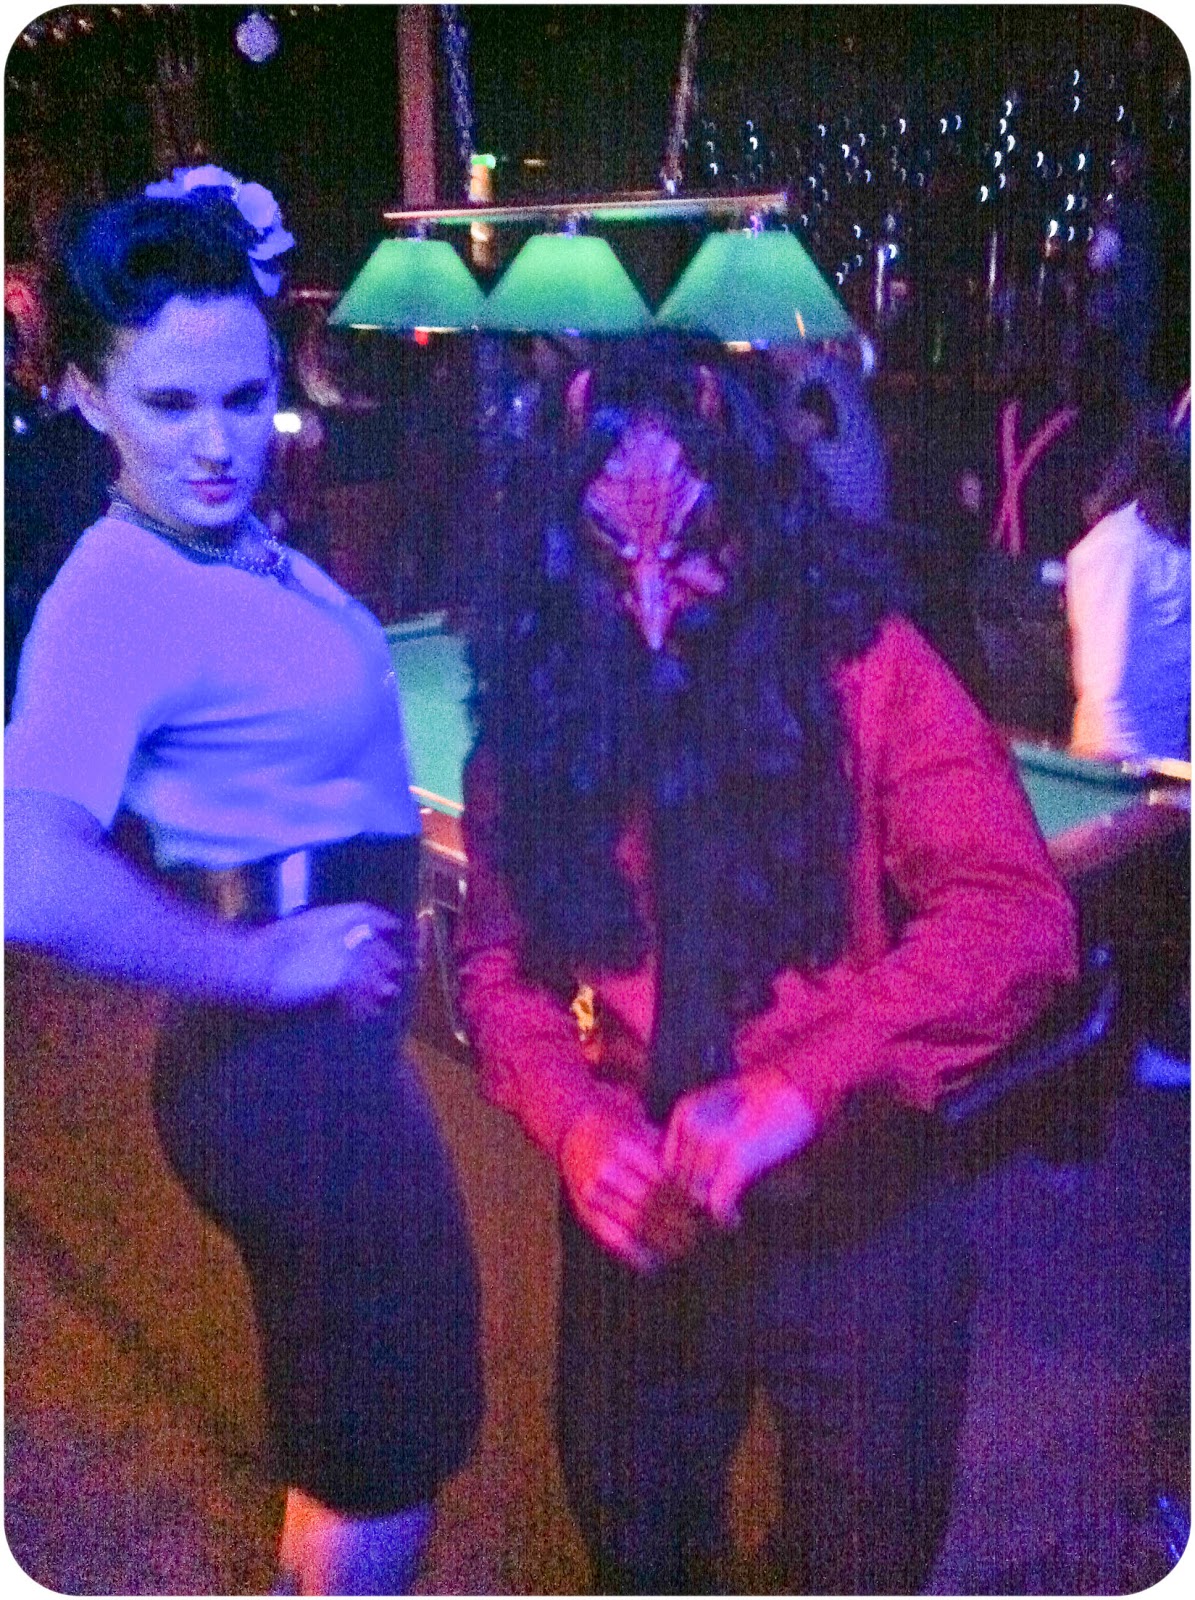 |
| How scary is that devil?! |
 |
| "Work it Smoochie!" |
The candy is ready and I'm impatiently patiently waiting for the trick or treaters to start ringin' the doorbell. I might even try to keep my eyes uncovered through an entire scary movie tonight;) Hope you all have a safe and fun Halloween!
HAPPY HALLOWEEN!


